
If your tablet is stuck in a boot loop, where it keeps restarting over and over again, displaying the logo and then turning off, don’t worry. We have several solutions that should help get you up and running again, without having to take the tablet apart.

Here is a list of the 6 solutions for getting a tablet out of a boot loop:
- Remove the Case and Press the Power Button
- Press the Power Button Three Times and Plug In
- The Tap Method
- The Massage Method
- The Smack Method
- The Freezer Method
Solution 1: Remove the Case and Press the Power Button
The first thing you should try is to remove the tablet’s case, if it has one. Next, locate the power button and press and hold it until you see the logo appear. Once the logo appears, release the power button, and hopefully, the tablet will boot up normally, and you’ll be out of the boot loop.
Remove the Case
The first step is to remove the tablet’s case, if it has one. This could help eliminate any potential interference or obstruction caused by the case.
Locate the Power Button
Next, locate the power button on your tablet. The location of the power button may vary depending on the tablet model.

Press and Hold the Power Button
Once you’ve located the power button, press and hold it down. Don’t let go of the button until you see the logo appear on the screen.
Release the Power Button
After the logo appears, release the power button.
Boot Up Normally
Hopefully, after releasing the power button, the tablet will boot up normally, and you’ll be out of the boot loop.
Solution 2: Press the Power Button Three Times and Plug In
If the first solution didn’t work, locate the power button again and press it hard three times (but not four or more times, as that may trigger an emergency SOS call). Next, plug in the tablet’s charger to provide power. While it’s plugged in and charging, press and hold the power button again until you see the logo. Release the button when the logo appears, and hopefully, the tablet will boot up correctly. Unplug it once it’s running
Press the Power Button Three Times
First, locate the power button and press it hard three times in quick succession. Be careful not to press it four or more times, as that may trigger an emergency SOS call on some devices.
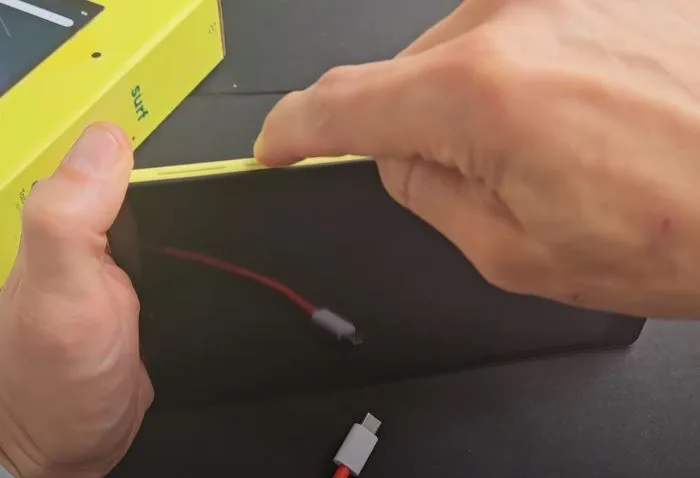
Plug in the Charger
After pressing the power button three times, plug in the tablet’s charger to provide power.
Press and Hold the Power Button While Charging
While the tablet is plugged in and charging, press and hold the power button again. Don’t let go until you see the logo appear on the screen.
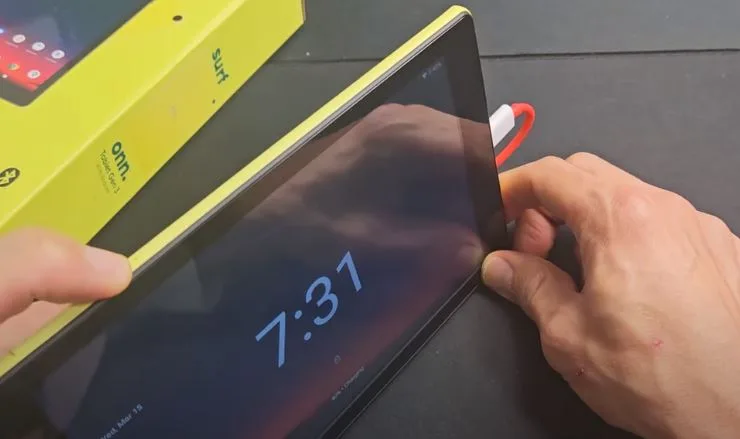
Release the Power Button When Logo Appears
Once the logo appears on the screen, release the power button.
Unplug the Charger
If the tablet boots up correctly after releasing the power button, you can go ahead and unplug the charger.
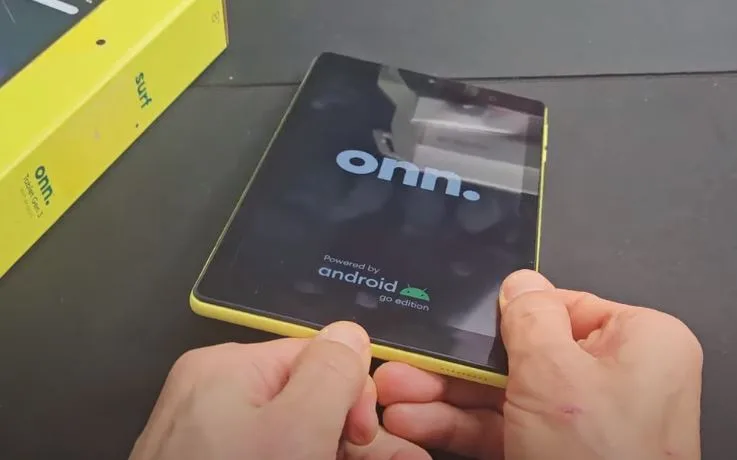
Boot Up Normally
Hopefully, after following these steps, the tablet will boot up normally, and you’ll be out of the boot loop.
If this second solution doesn’t work, you can proceed to try the other solutions provided in the article.
Solution 3: The Tap Method
This method is designed to help reseat any loosely connected ribbon cables inside the tablet. Hold the tablet horizontally and use two fingers to tap firmly all over the screen and the back of the device. Tap on the sides and around the camera lenses as well. After tapping, try pressing and holding the power button again to see if the tablet boots up normally.
Hold the Tablet Horizontally
Start by holding the tablet horizontally in front of you.
Use Two Fingers to Tap
Use two fingers to tap firmly all over the screen and the back of the tablet.
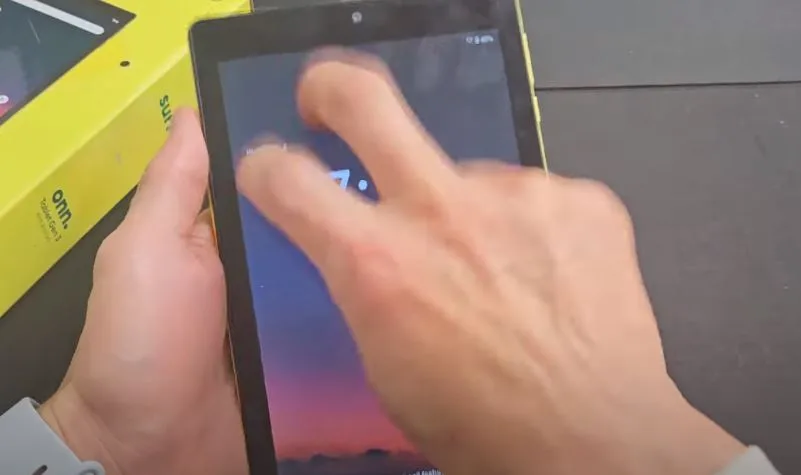
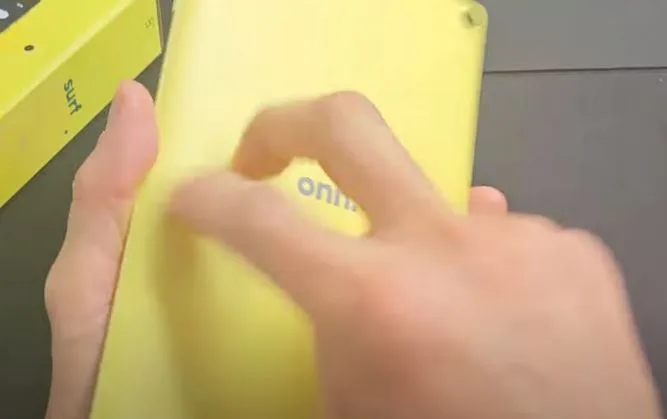
Tap the Sides and Around Camera Lenses
In addition to tapping the front and back surfaces, make sure to tap on the sides of the tablet and around the camera lenses.
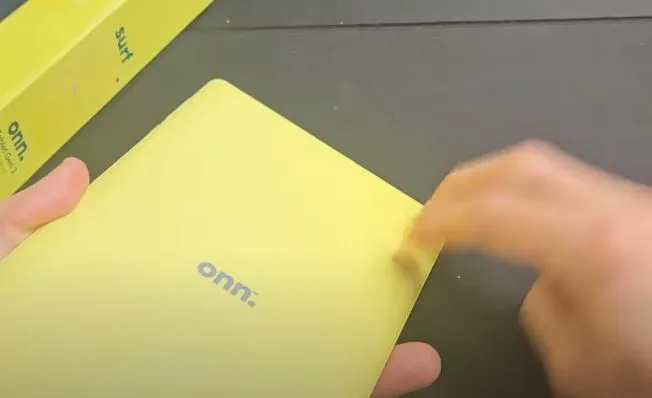
Press and Hold the Power Button
After tapping all over the device, try pressing and holding the power button to see if the tablet boots up normally.
Check for Boot Up
If the tapping method was successful, the tablet should boot up correctly, and you’ll be out of the boot loop.
Solution 4: The Massage Method
For this method, hold the tablet in your hand and use your thumbs to press and massage the screen and the back of the device. Apply firm pressure and move your thumbs all over the surface. If you hear a click, that could be a good sign that a cable has reseated. After massaging, turn the tablet over and check if it’s out of the boot loop. If not, try pressing and holding the power button again.
Hold the Tablet in Your Hand
Start by holding the tablet in your hand, with the screen facing up.
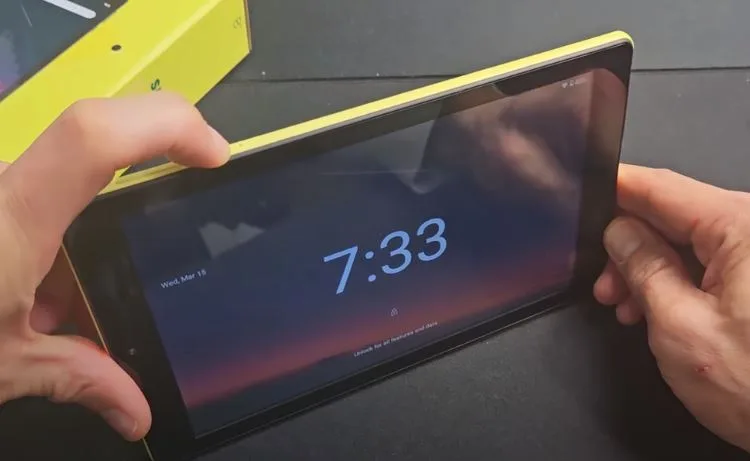
Use Your Thumbs to Massage
Use your thumbs to press and massage the screen and the back of the device. Apply firm pressure as you move your thumbs all over the surface.


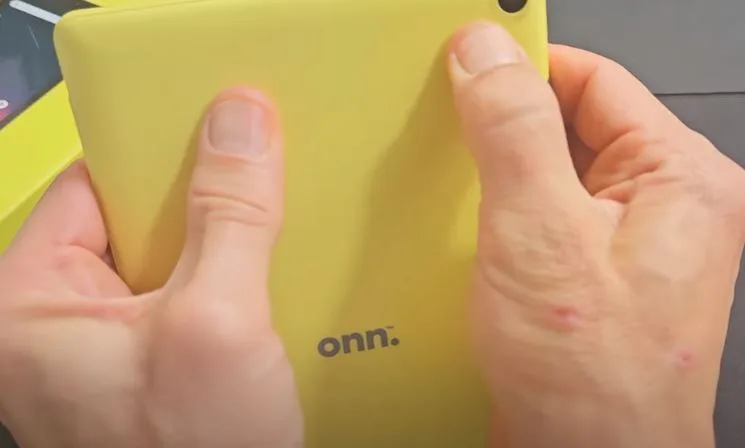
Listen for a Click
While massaging the tablet, listen carefully for any clicking sounds. A clicking sound could indicate that a loosely connected cable has been reseated.
Turn the Tablet Over and Check
After massaging both sides of the tablet, turn it over and check if it’s out of the boot loop.
Press and Hold the Power Button
If the tablet is still stuck in the boot loop, try pressing and holding the power button again to see if it will boot up normally.

Check for Boot Up
If the massage method was successful, the tablet should boot up correctly after pressing and holding the power button.
If this solution doesn’t work, you can proceed to try the next solution provided in the article.
Solution 5: The Smack Method
This method is similar to the tap method but involves a bit more force. Hold your hand out and smack the bottom of the screen and the back of the tablet a few times. The idea is that the impact may help reseat any loosened cables. After smacking, turn the tablet over and check if it’s out of the boot loop. If not, try pressing and holding the power button again.
The Premise
Similar to the tap method, the smack method involves applying more forceful impacts to the tablet in an attempt to reseat any loosened cables.
Hold Your Hand Out
Start by holding your hand out with the palm facing up.

Smack the Bottom of the Screen
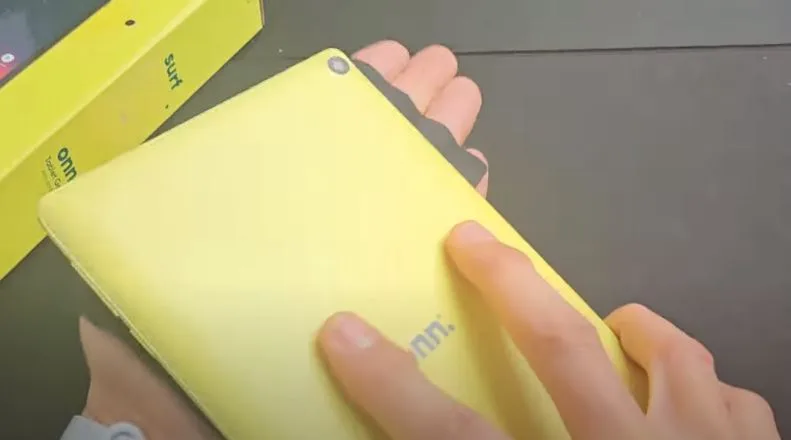
Place the tablet screen-side down on your palm and smack the bottom of the screen a few times with your other hand.
Smack the Back of the Tablet
Flip the tablet over and smack the back of the device a few times as well.
Alternate Smacking Surfaces
You can alternate between smacking the bottom of the screen and the back of the tablet.
Turn the Tablet Over and Check
After smacking both sides of the tablet, turn it over and check if it’s out of the boot loop.
Press and Hold the Power Button
If the tablet is still stuck in the boot loop, press and hold the power button again to see if it will boot up correctly.

Check for Boot Up
If the smack method was successful, the tablet should boot up normally after pressing and holding the power button.
Solution 6: The Freezer Method
If you have a screen protector on your tablet, remove it first. Then, place the tablet in your freezer for 15-20 minutes to get it nice and cold. After that, take it out and try tapping the power button to see if it boots up correctly. If it’s still in a boot loop, press and hold the power button while the tablet is cold until it turns on and you see the logo. Release the button then, and hopefully, the tablet will be up and running.
Remove Screen Protector (if applicable)
If your tablet has a screen protector, remove it before proceeding with this method.
Place Tablet in Freezer
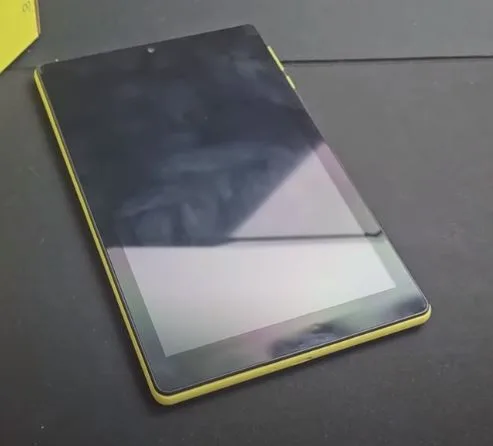
Take your tablet and place it in your freezer, making sure it’s in a location where it can get nice and cold.
Leave Tablet in Freezer for 15-20 Minutes
Leave the tablet in the freezer for about 15 to 20 minutes to allow it to get thoroughly chilled.
Remove Tablet from Freezer
After 15-20 minutes, remove the cold tablet from the freezer.
Tap the Power Button
Tap the power button on the chilled tablet to see if it will boot up correctly now that it’s cold.
Press and Hold Power Button While Cold
If the tablet is still stuck in the boot loop after tapping the power button, press and hold the power button while the tablet is still cold.
Release Power Button When Logo Appears
Keep holding the power button until the logo appears on the screen. Once you see the logo, release the power button.
Check for Boot Up
Hopefully, after releasing the power button with the tablet in its chilled state, it will successfully boot up, and you’ll be out of the boot loop.
If the freezer method doesn’t work, the article suggests trying all the solutions again, up to seven times each, before considering a factory reset or accessing the Android recovery menu.
If none of these methods work after trying each one at least seven times, you may need to try a factory reset or attempt to access the Android recovery menu to wipe the cache partition.
According to the 6 Given Solutions , at least 70% of users should be able to get out of the boot loop by following these steps. Good luck, and let us know if any of these solutions worked for you!
Frequently Asked Questions
A boot loop issue can be frustrating, but these FAQs provide insight into common causes and potential solutions.
Why does my Android keep shutting off and restarting? This could be caused by a software glitch, a dislodged cable, or a hardware issue. Going through the solutions in this article may help resolve the problem.
Why does my tablet keep crashing and restarting?
A crashing and restarting tablet is likely stuck in a boot loop, which can be caused by software corruption or hardware problems. The methods outlined here aim to fix this issue.
How to fix a constantly rebooting/restarting Samsung smartphone? While this article focuses on tablets, many of the solutions can also apply to Samsung smartphones stuck in a boot loop or constantly rebooting.
What to do if device keeps restarting? If your device (tablet or smartphone) keeps restarting, try the various solutions provided in this article, such as the tap method, massage method, smack method, and freezer method.
How do I fix my Android tablet stuck in boot loop?
This entire article is dedicated to providing different methods to fix an Android tablet stuck in a boot loop, ranging from simple button presses to more involved techniques like the freezer method.
Why does my Android restart on its own? An Android device restarting on its own could be due to a software glitch, a dislodged cable, overheating, or a hardware issue. The solutions in this article may help identify and resolve the underlying cause.
thebestandroidtablet.com is describing informational content about the android tablet. And these tablets are of different Display of 5 inches, 7 inches, 10 inches, 12 inches, 14 inches, and 15 inches regarding screen size and can be used for doing drawing, watching, reading, writing, kids learning, architecture, engineering, medical and different fields of life.
We also focusing on Best Budgets Tablets like under 50, under 100, under 200 for kids, under 300, under 400, under 500, under 600, under 700, under 800, under 900 and under 10,000.
And you may also get a huge amount of information and guidance regarding Android Tablet Wireless Charging, How to install Windows on Android Tablet, How to sync android tablet to phone, Android Tablet Kiosk Mode, and How to Jailbreak an Android Tablet.
Below are the some featured categories about the best android tablets.


